Wix
Embed the Wheelbase rental storefront on your Wix site. There are two methods available:
- Custom Element (Recommended) — Requires a paid Wix plan with a connected custom domain
- Embed HTML (Alternative) — Works on any Wix plan but runs inside an iframe
Custom Element (Recommended)
This method requires a Wix paid plan with a connected custom domain. It is not available on free Wix sites.
Add the widget script
In your Wix dashboard, navigate to the Backend & Public section. Under the Public folder, click the + icon and select Add .js file. Name the file wheelbase.js and paste the following code:
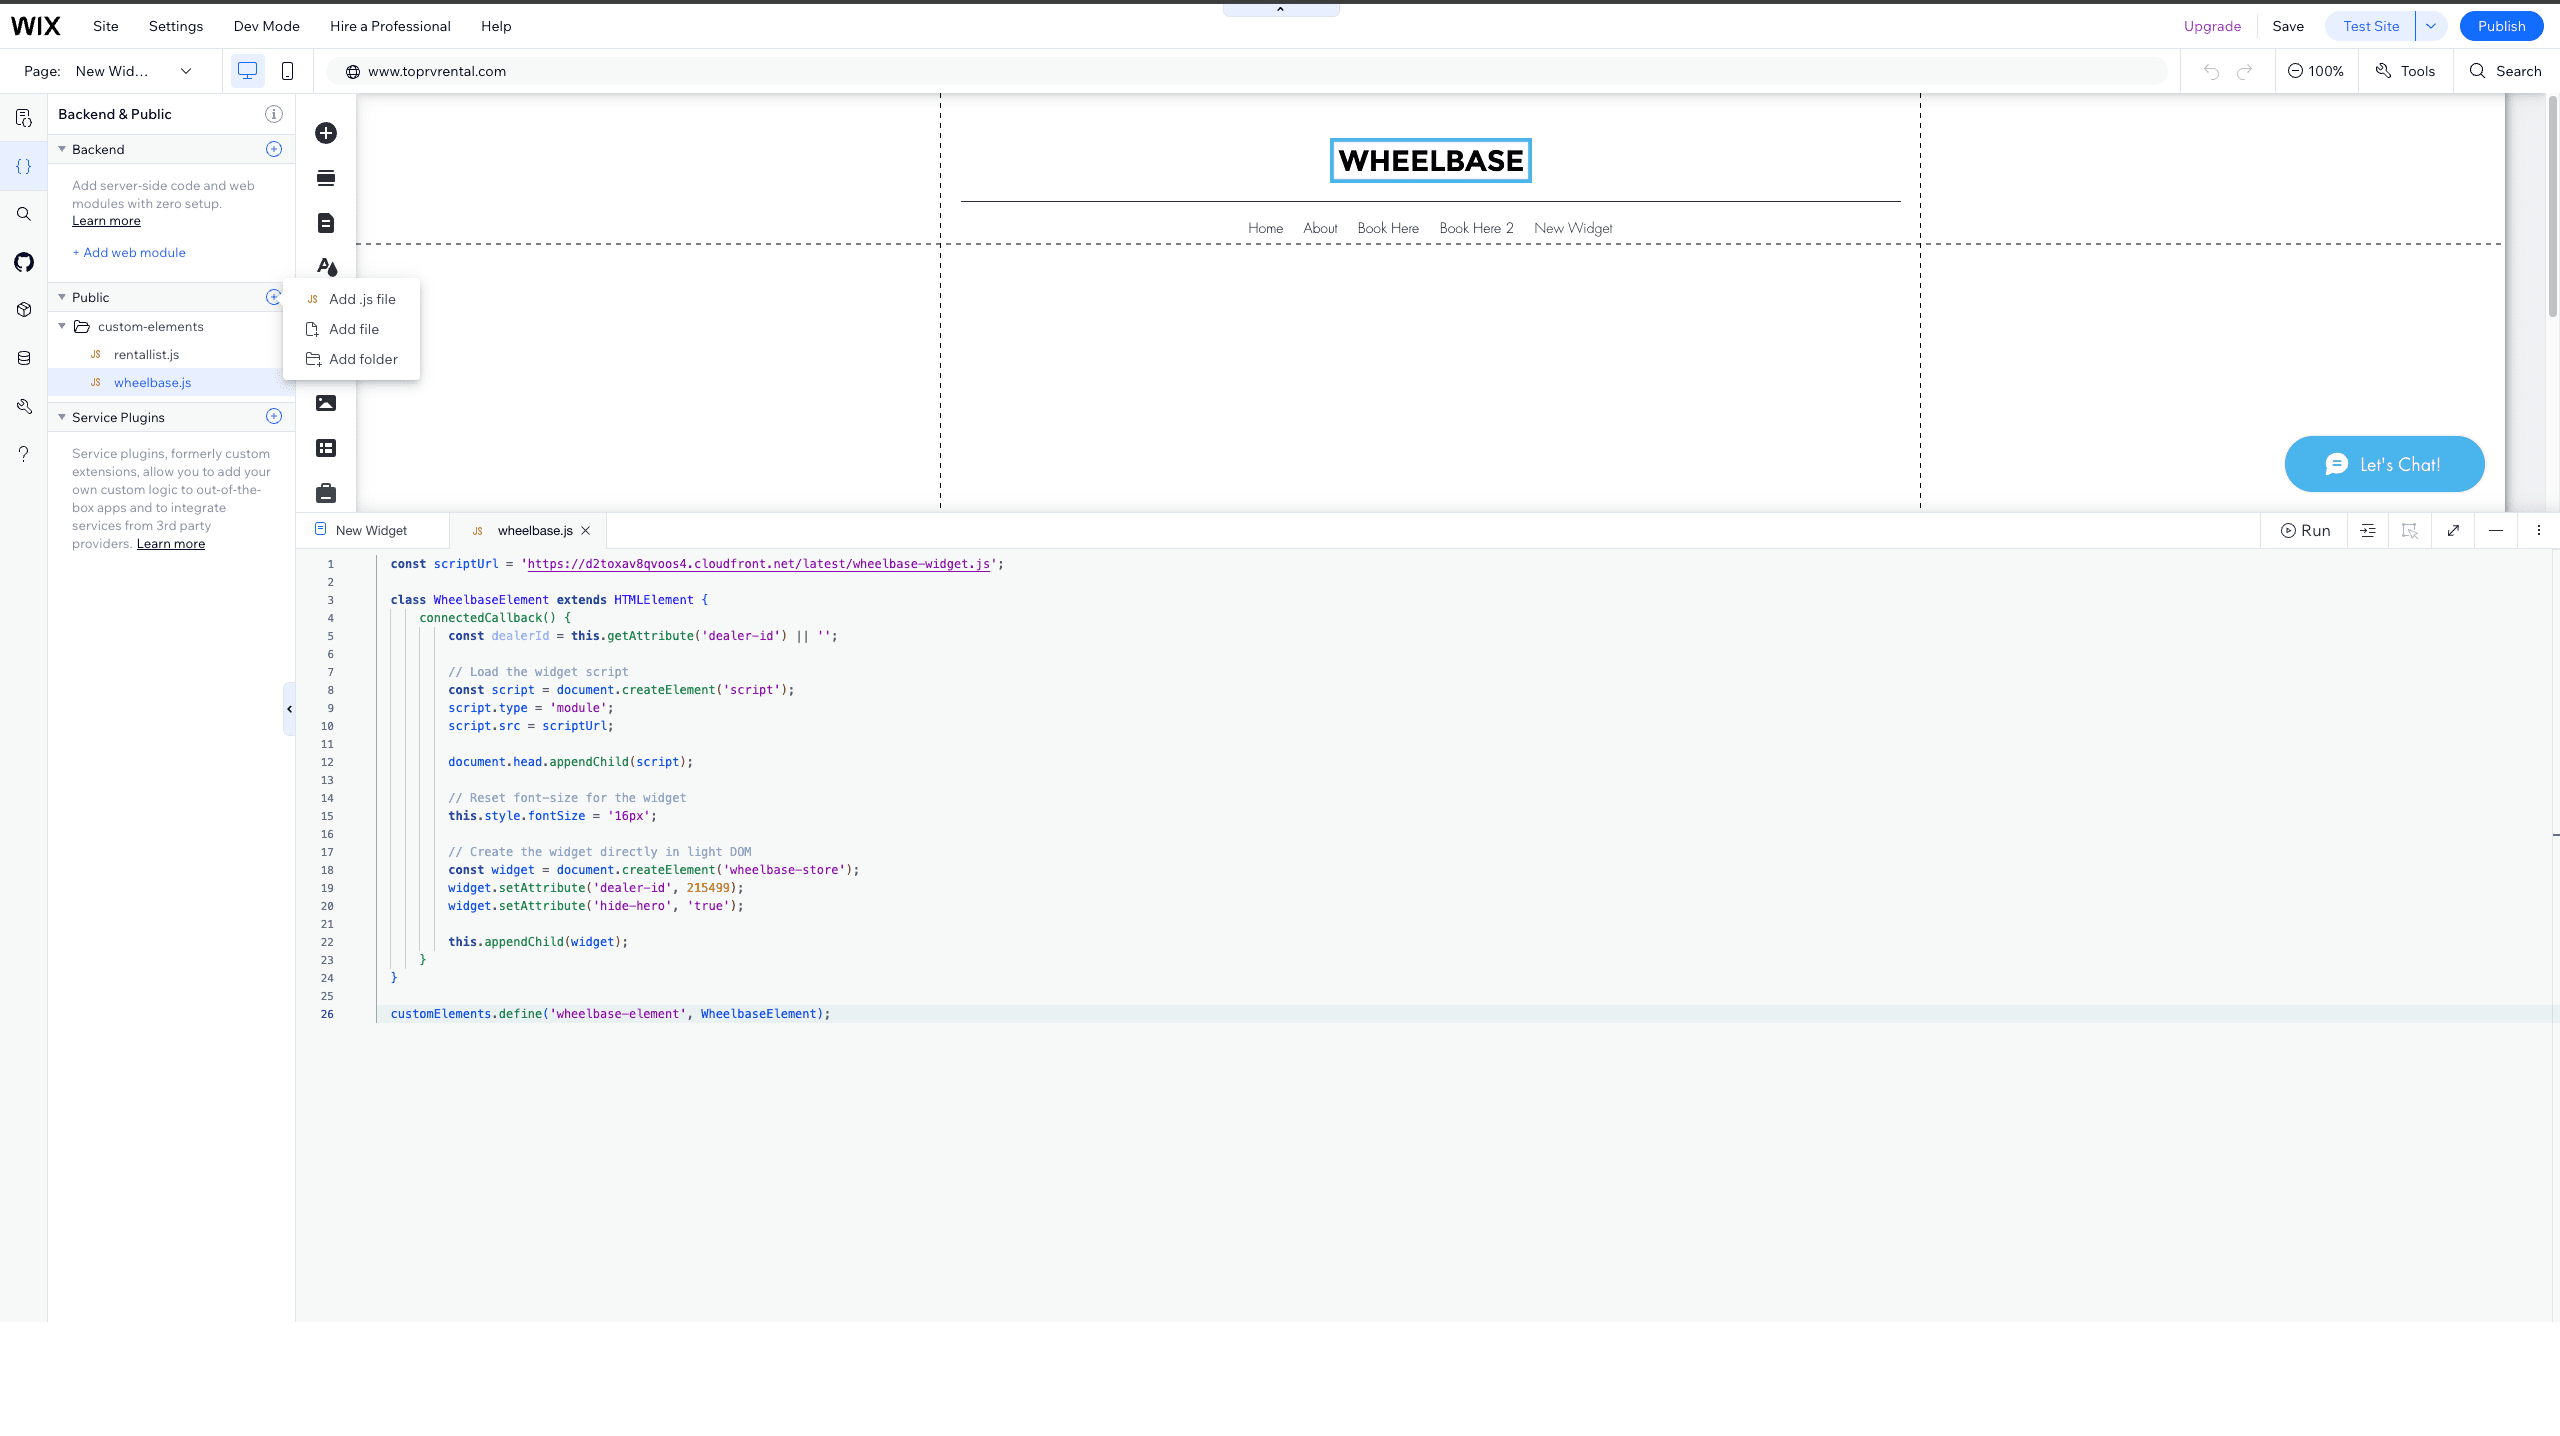
const scriptUrl = 'https://d2toxav8qvoos4.cloudfront.net/latest/wheelbase-widget.js';

class WheelbaseElement extends HTMLElement {
  connectedCallback() {
    const dealerId = this.getAttribute('dealer-id') || '';

    const script = document.createElement('script');
    script.type = 'module';
    script.src = scriptUrl;
    document.head.appendChild(script);

    this.style.fontSize = '16px';

    const widget = document.createElement('wheelbase-store');
    widget.setAttribute('dealer-id', dealerId);
    widget.setAttribute('hide-hero', 'true');
    this.appendChild(widget);
  }
}

customElements.define('wheelbase-element', WheelbaseElement);
Add a Custom Element to your page
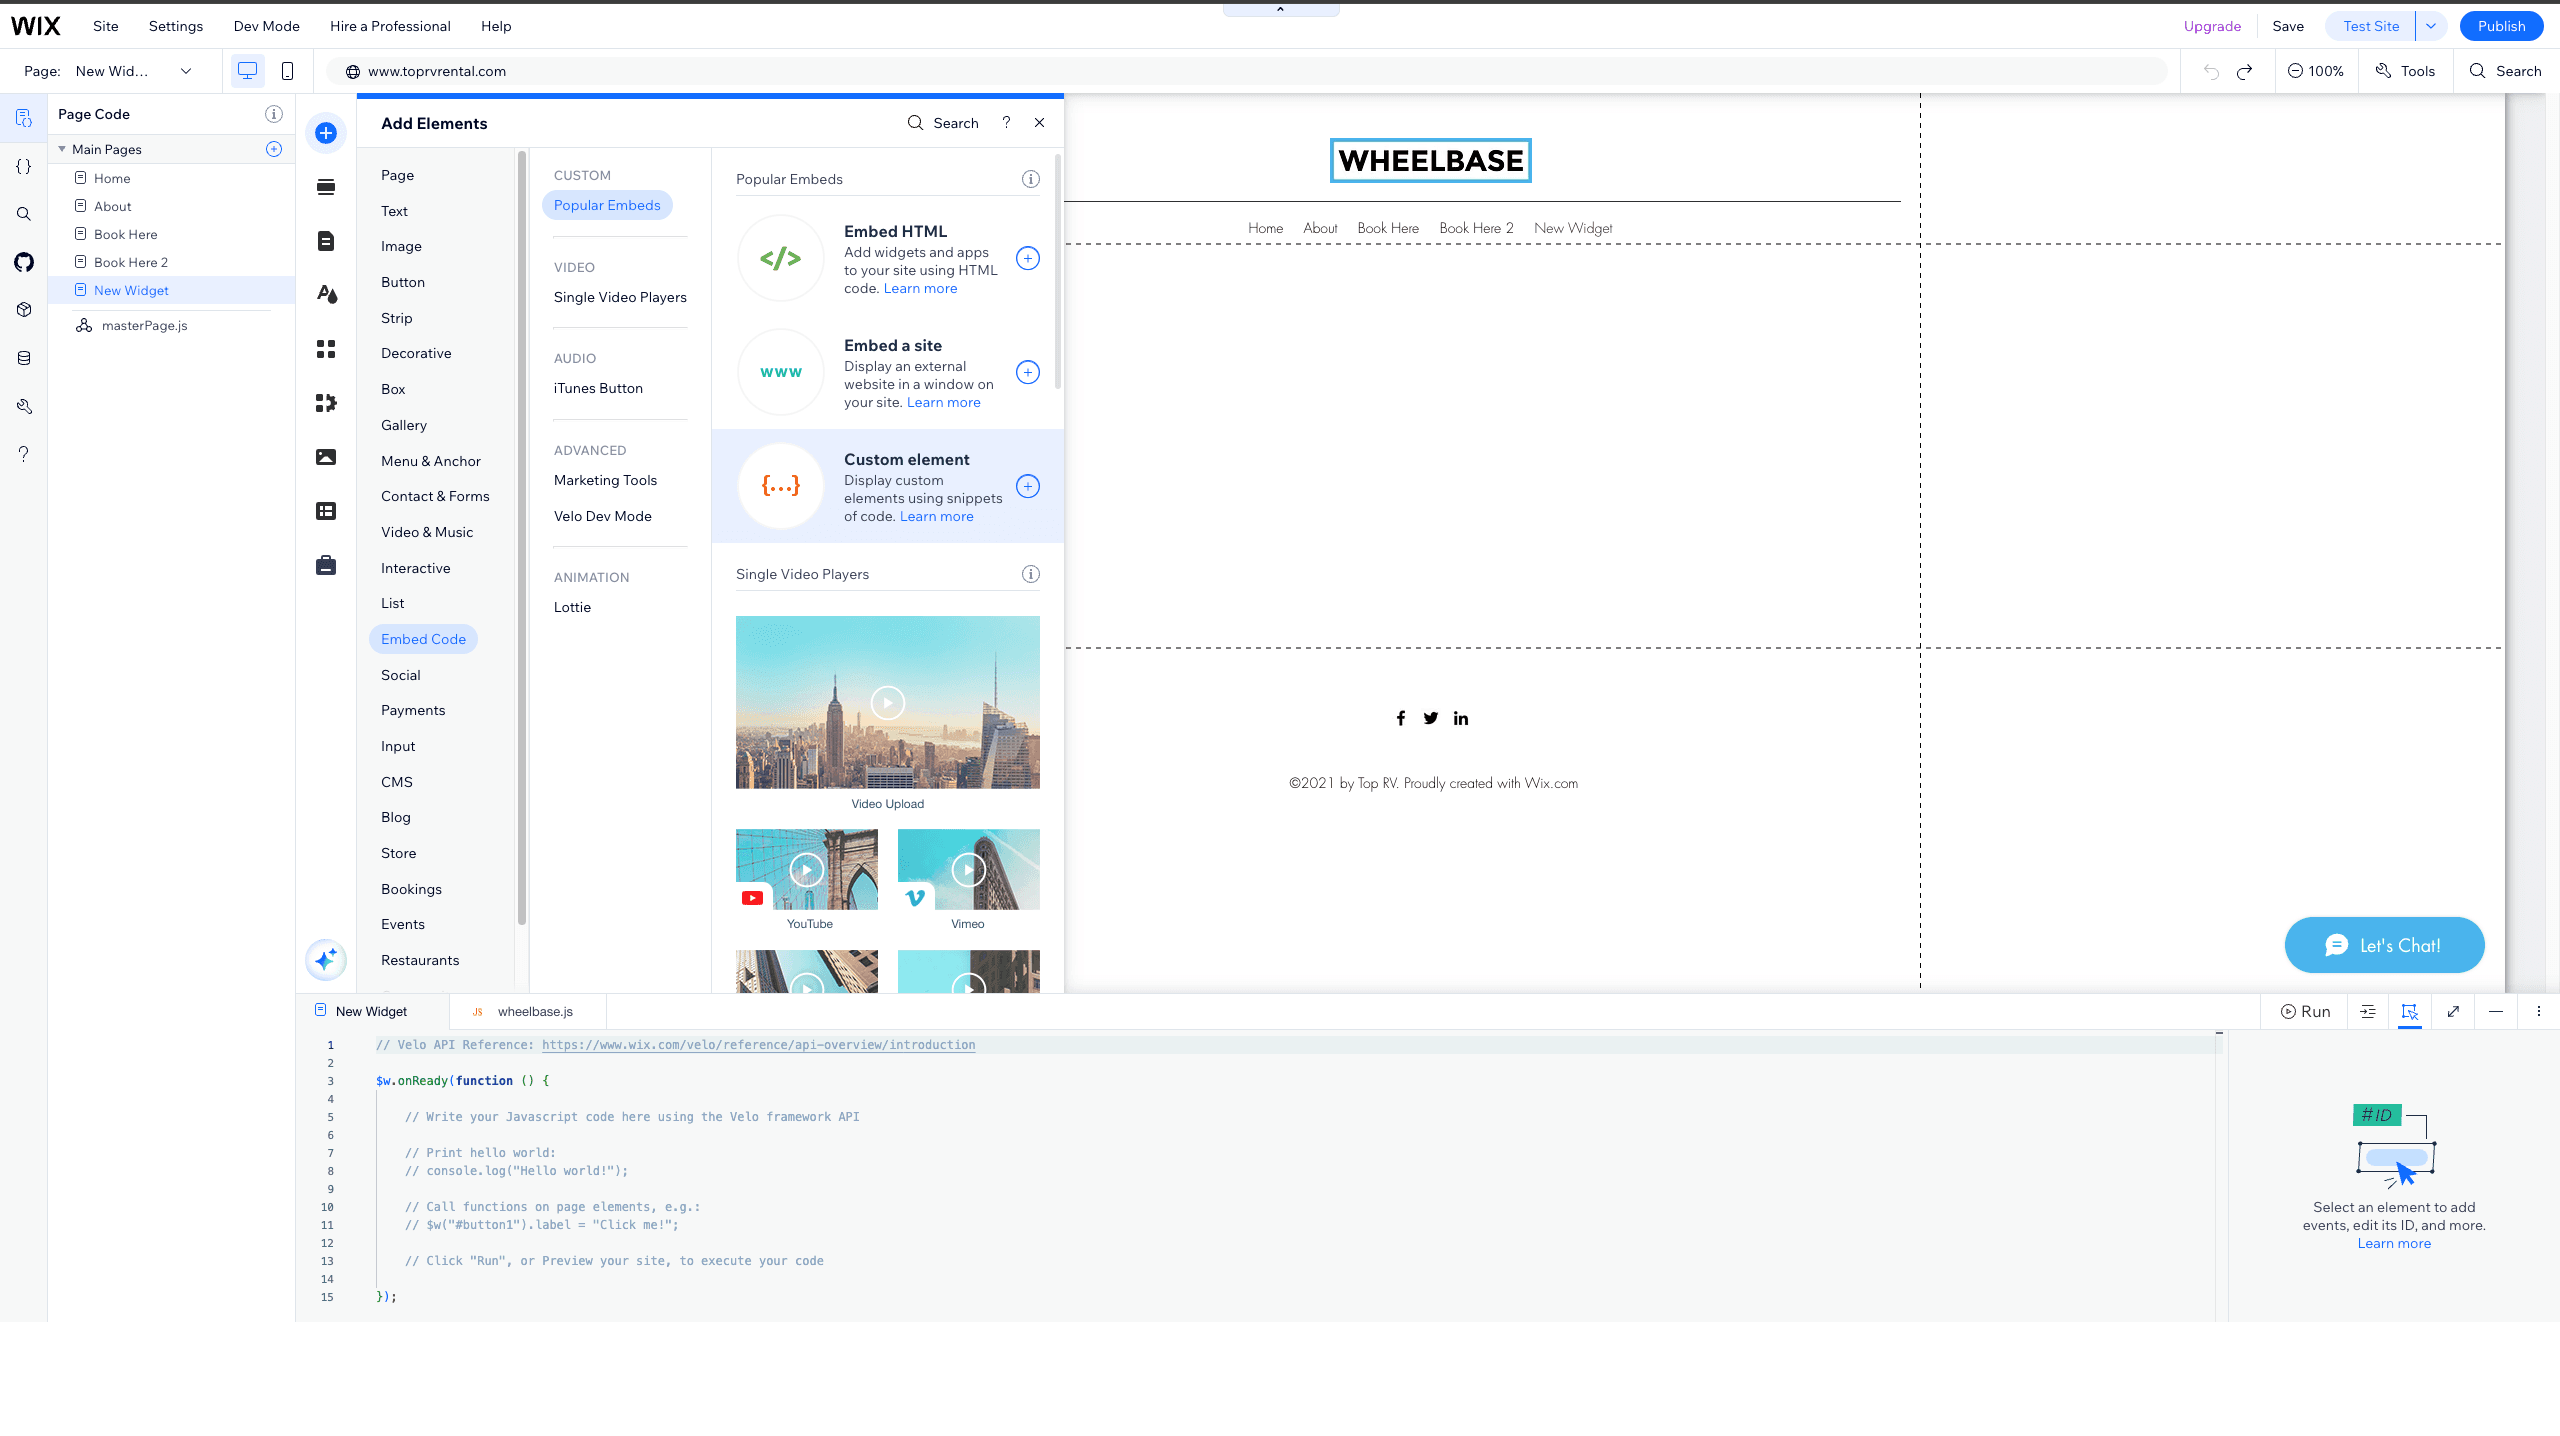
Go to the page where you want to embed the widget. Click Add (+) > Embed Code > Custom Element.
Connect the script and set the tag name
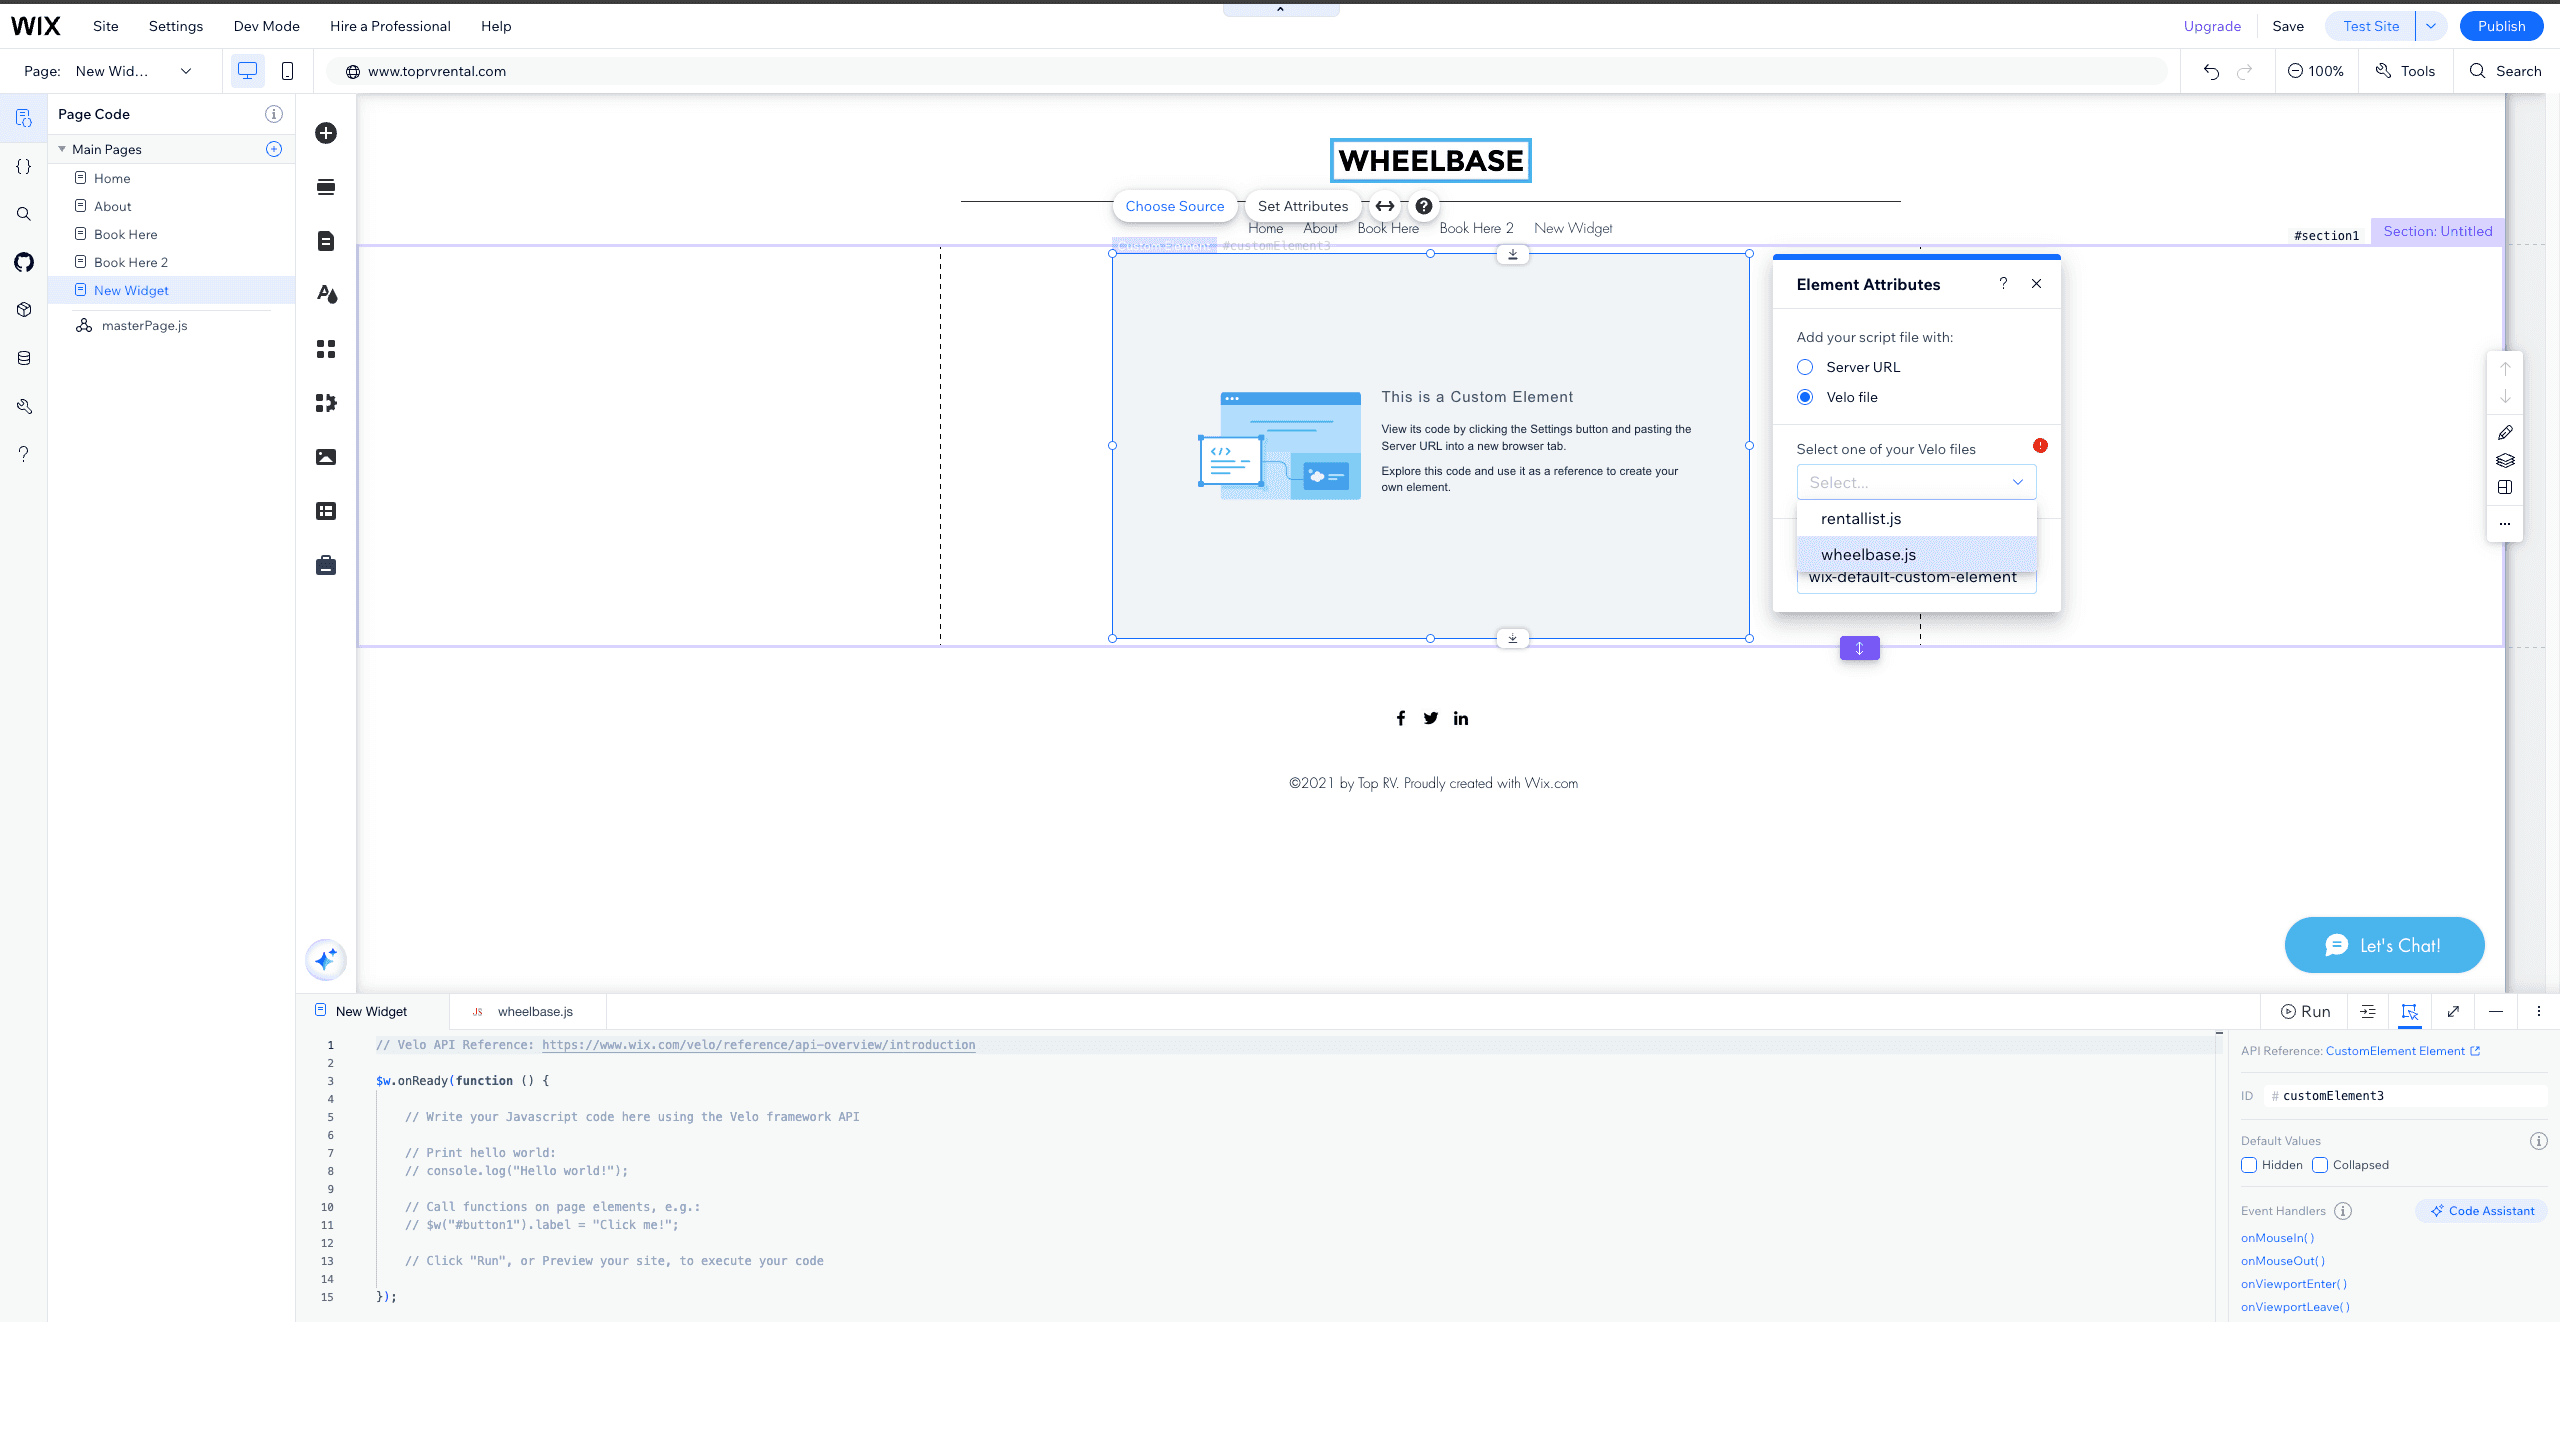
Click on the Custom Element, then click Choose Source. Select Velo file as the source type and pick the wheelbase.js file you created in step 1.
Set the Tag Name to wheelbase-element.
Passing Attributes
Unlike the WordPress plugin where attributes are passed directly in the shortcode, in Wix you control attributes by modifying the wheelbase.js file. Each attribute is set as a widget.setAttribute() call inside the connectedCallback method:
const widget = document.createElement('wheelbase-store');
widget.setAttribute('dealer-id', dealerId);
widget.setAttribute('hide-hero', 'true');
widget.setAttribute('primary-color', '#2563EB');
widget.setAttribute('surface-color', '#F9FAFB');
widget.setAttribute('locale', 'fr-ca');
To add or change attributes, simply add or modify the setAttribute lines and save the file. Changes take effect after you publish the site.
See the full list of supported attributes on each component’s page under Components.
Single Listing
To embed a single rental instead of the full store, change the element created in wheelbase.js from wheelbase-store to listing-details and add the rental-id attribute:
const widget = document.createElement('listing-details');
widget.setAttribute('dealer-id', dealerId);
widget.setAttribute('rental-id', 'YOUR_RENTAL_ID');
Embed HTML (Alternative)
If you don’t have a paid Wix plan or a connected custom domain, you can embed the widget using an HTML code block. This method runs inside an iframe, which may cause limitations such as checkout opening in a new tab.
The Custom Element method above is recommended for a better user experience. Use this method only if you don’t have access to a paid plan.
Add an HTML embed to your page
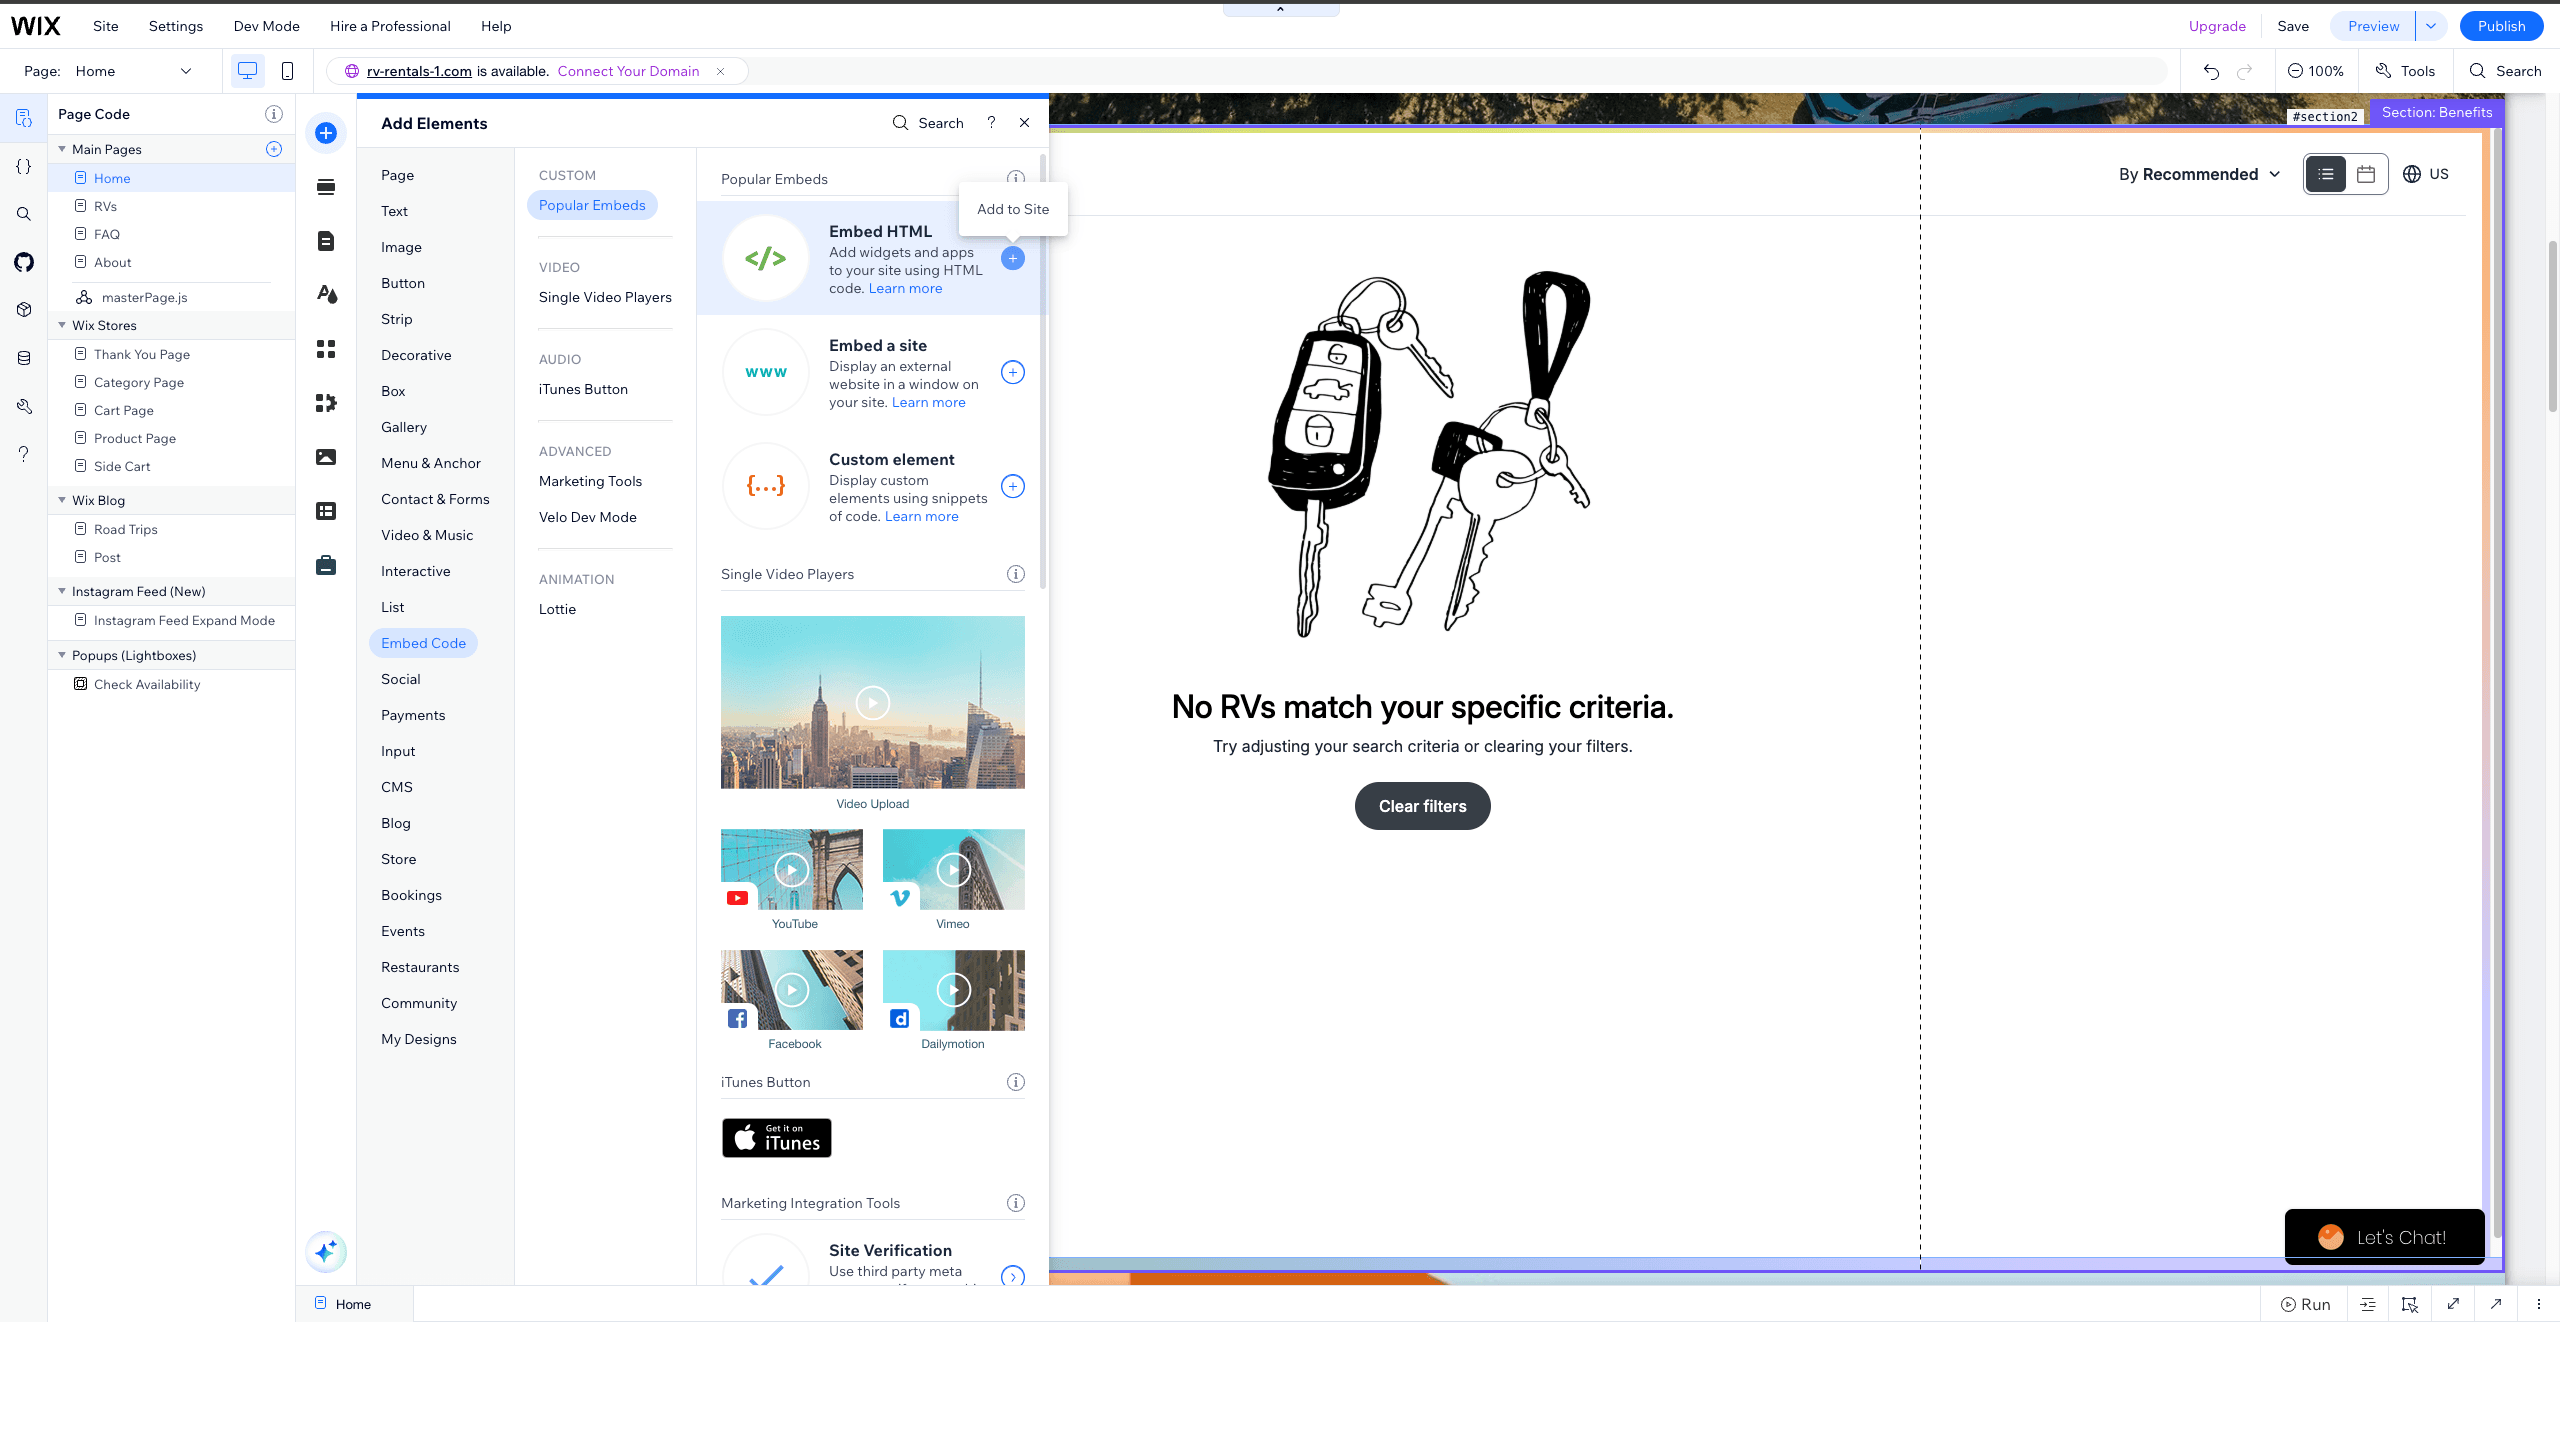
Go to the page where you want the widget. Click Add (+) > Embed Code > Embed HTML.
Switch to Code mode and paste the widget code
Click on the HTML block, select Code, then paste the following code replacing YOUR_DEALER_ID with your Wheelbase dealer ID. Click Update to apply.
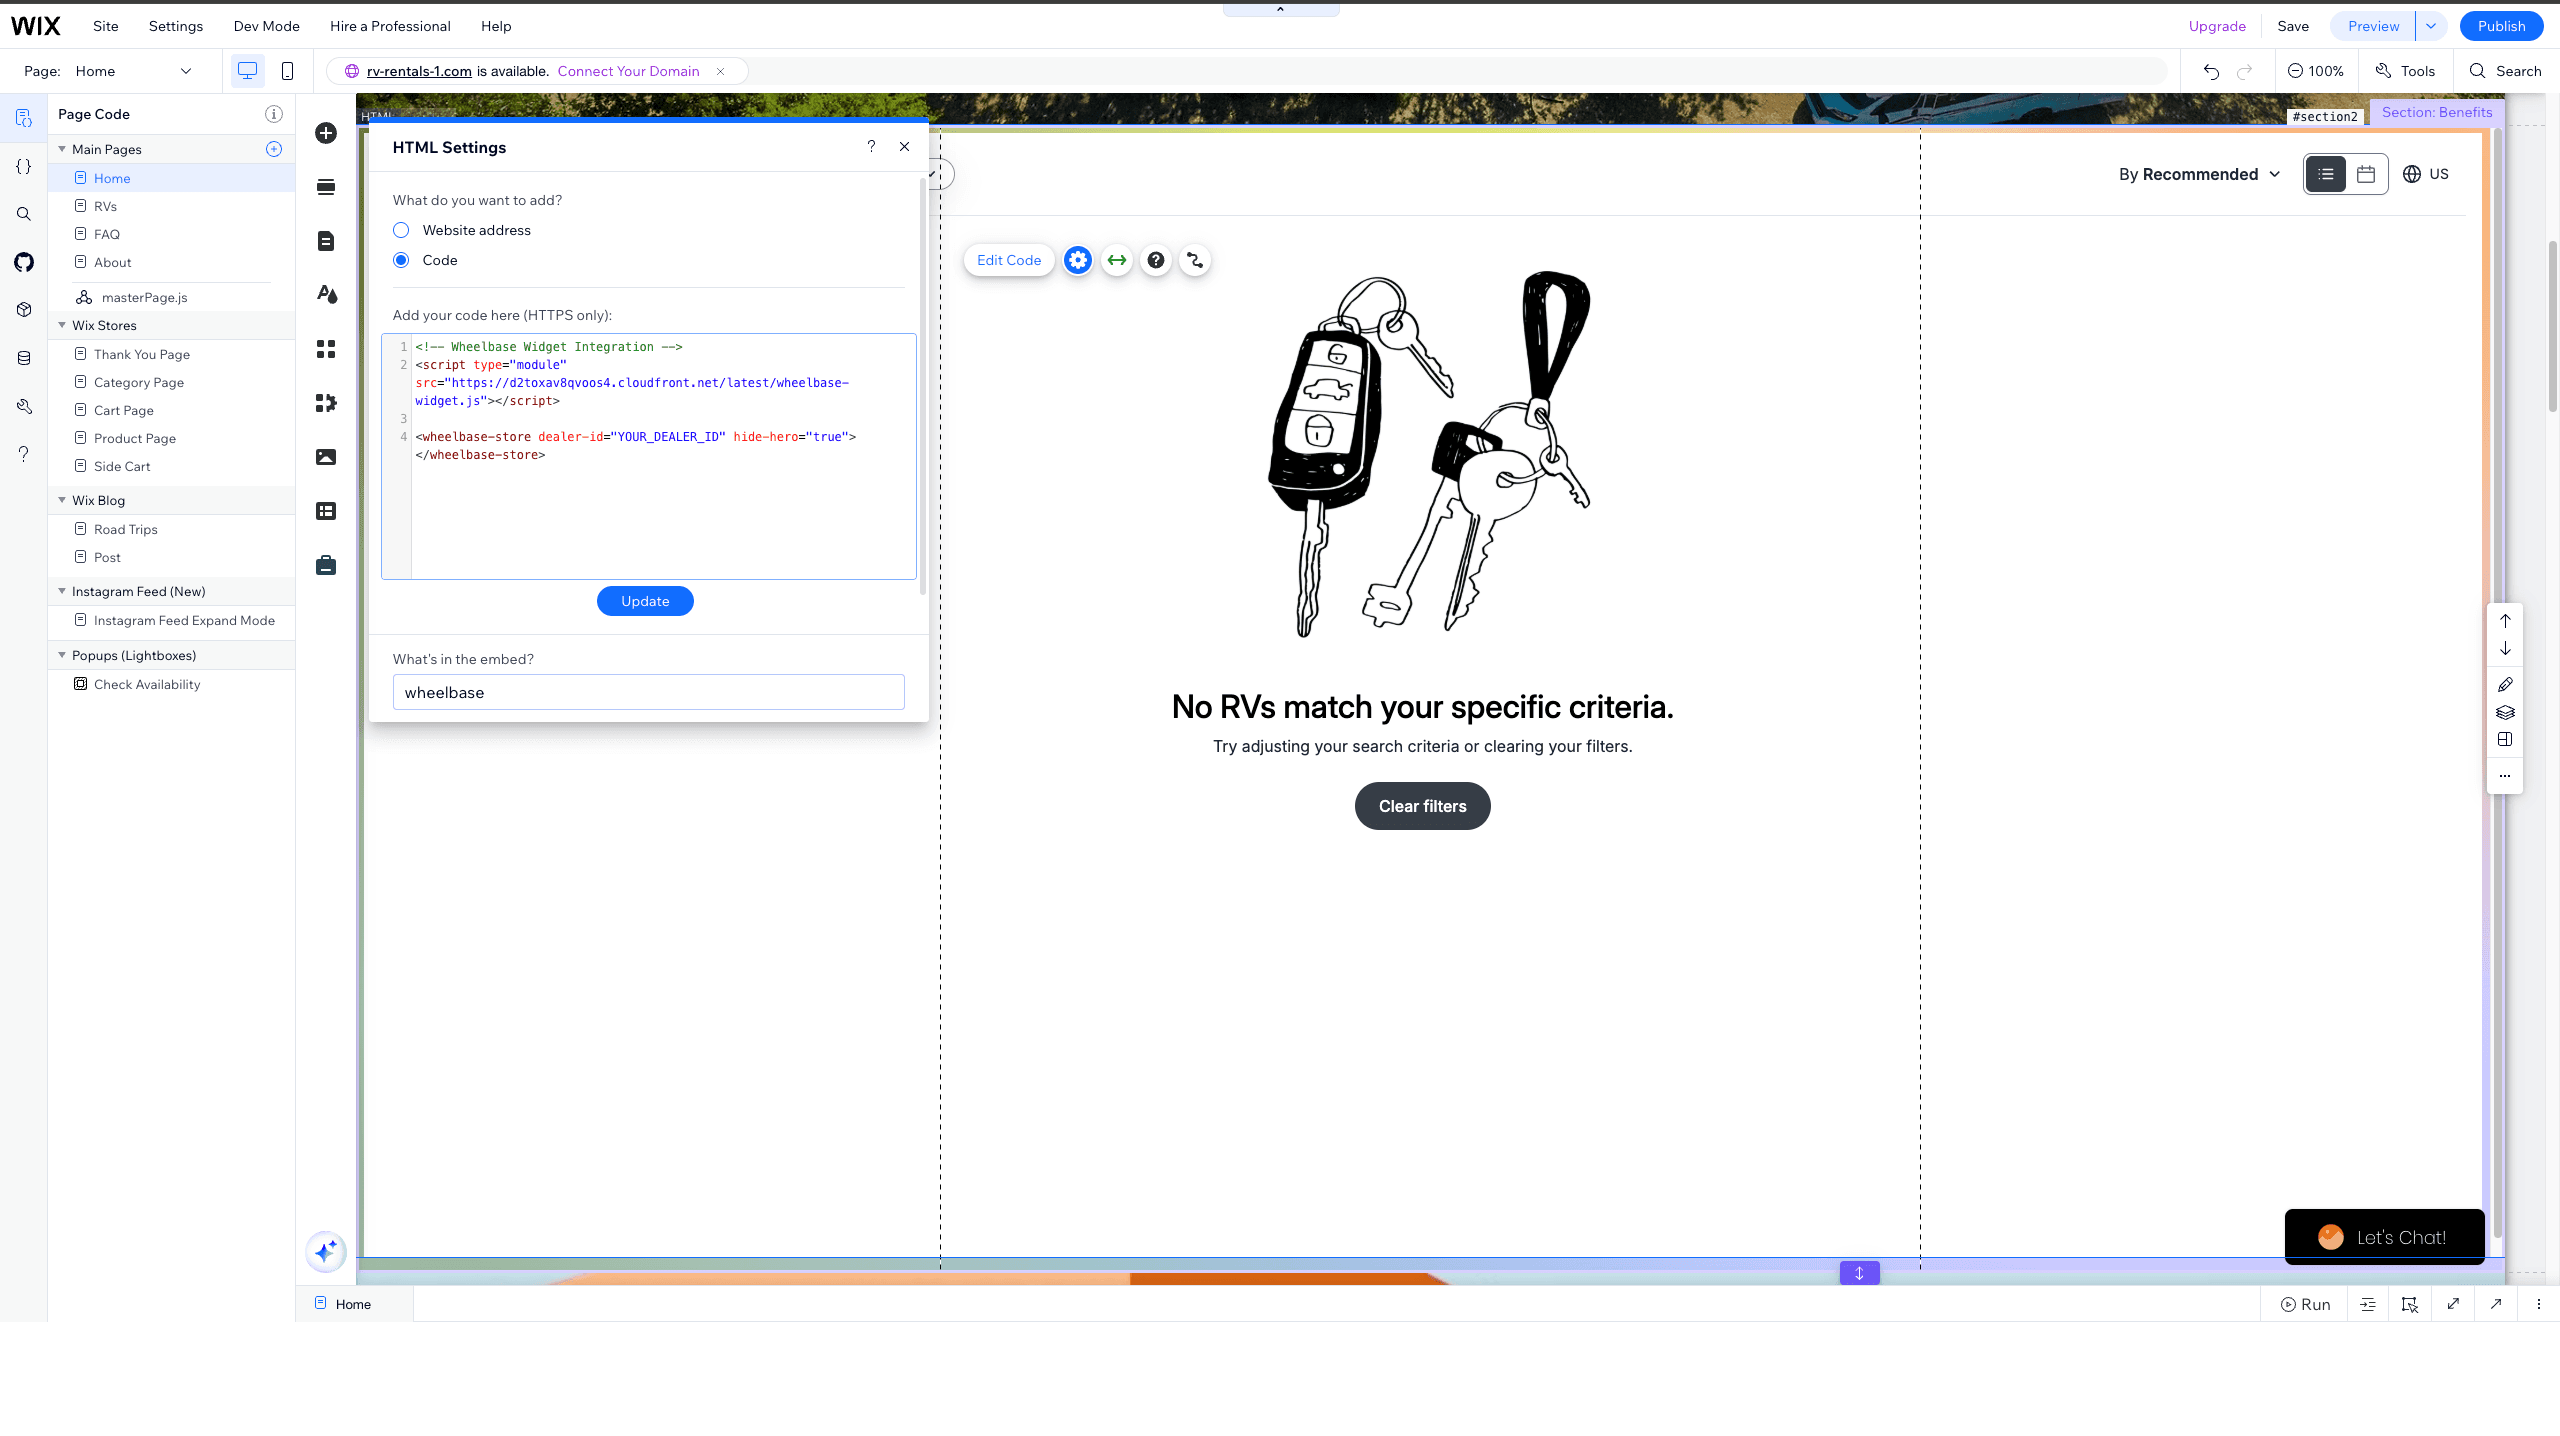
<!-- Wheelbase Widget Integration -->
<script type="module" src="https://d2toxav8qvoos4.cloudfront.net/latest/wheelbase-widget.js"></script>

<wheelbase-store dealer-id="YOUR_DEALER_ID" hide-hero="true"></wheelbase-store>
You can add any supported attributes directly on the <wheelbase-store> element. See the full list on each component’s page under Components.
For a single listing, use <listing-details> instead:
<script type="module" src="https://d2toxav8qvoos4.cloudfront.net/latest/wheelbase-widget.js"></script>

<listing-details dealer-id="YOUR_DEALER_ID" rental-id="YOUR_RENTAL_ID"></listing-details>
Troubleshooting
Widget Looks Zoomed In on Mobile
On mobile, Wix’s classic (non-Studio) editor renders the page on a fixed 320px design canvas and sets a <meta name="viewport" content="width=320">. The browser then scales that 320px layout up to fill the phone screen — so the widget (and the rest of your page) appears zoomed in.
To render at true device size, add a viewport fix to your wheelbase.js connectedCallback. It sets the viewport to the real device width and re-applies it whenever Wix resets it:
connectedCallback() {
  // Render at true device width instead of Wix's scaled 320px mobile canvas.
  const setViewport = () => {
    let vp = document.querySelector('meta[name="viewport"]');
    if (!vp) {
      vp = document.createElement('meta');
      vp.setAttribute('name', 'viewport');
      document.head.appendChild(vp);
    }
    const want = 'width=device-width, initial-scale=1, viewport-fit=cover';
    if (vp.getAttribute('content') !== want) vp.setAttribute('content', want);
  };
  setViewport();
  new MutationObserver(setViewport).observe(document.head, {
    childList: true,
    subtree: true,
    attributes: true,
  });

  // ...rest of your existing connectedCallback (script injection, widget creation)
}
After this, the widget renders crisp at the real screen width. Because Wix’s mobile layout is still built on the 320px canvas, your page content sits centered with small side margins — this is normal and consistent with how Wix lays out mobile pages.
Avoid forcing the Wix containers to full width with CSS (e.g. width: 100% !important) to remove those side margins. It widens section backgrounds but Wix pins header/footer elements (logo, menu, phone number) to the 320px grid, so they end up misaligned. Truly edge-to-edge, aligned mobile layouts require Wix Studio , which uses a responsive engine instead of the fixed 320px canvas.
Scaled Down Text and UI
If text or UI still looks too small after applying the viewport fix above, Wix’s rem-based sizing may be affecting the widget. The this.style.fontSize = '16px' line in the script resets the base font size for the widget. As a last resort you can also add this to the connectedCallback method:
document.documentElement.style.fontSize = '16px';This changes the font size globally and may affect other elements on your Wix page.
Checkout Opens in New Tab
This is expected behavior. Wix embeds custom elements inside iframes, so the checkout flow opens in a new tab to ensure a smooth booking experience.